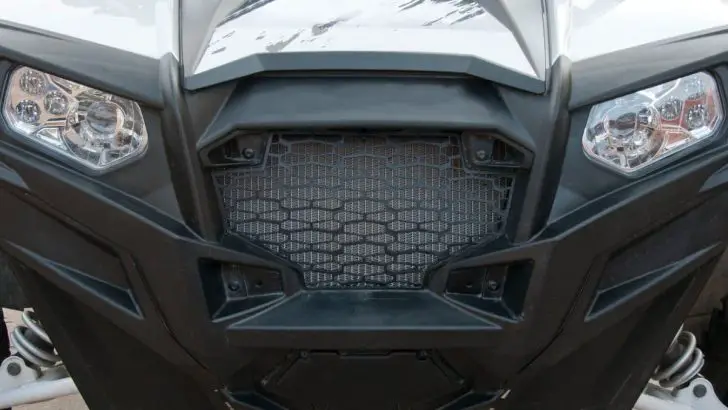
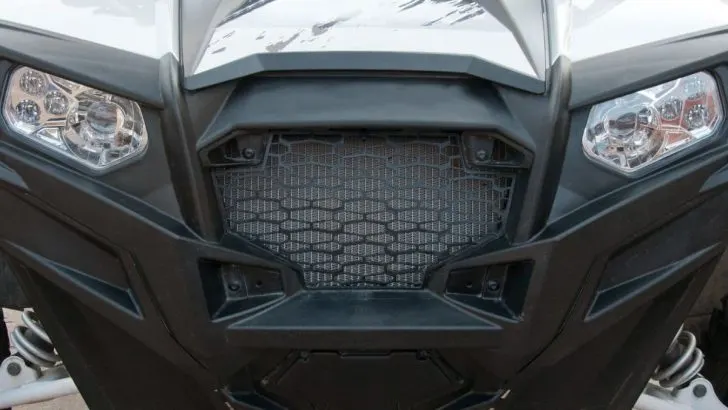
Nothing beats exploring the woods or trails with the sun shining on you in a Kawasaki Teryx. But what do you do when your headlights suddenly stop working? This mechanical failure can be a hassle, especially if it’s dark out and you must get somewhere safely.
When a Kawasaki Teryx headlight stops working, it may be because it has blown a fuse, a faulty headlight switch, corroded wiring, or a poor headlight relay. Solutions include checking the headlight relay, checking the fuse if it’s blown, and inspecting the wiring for corrosion.
In the rest of this article, I’ll discuss the reasons your Kawasaki headlights may stop working. I’ll also cover how to fix these problems. Keep reading to get your Kawasaki Teryx headlights back up and running in no time!
1. Your Teryx Headlights Have a Faulty Headlight Relay
A relay is an essential component in your Kawasaki Teryx’s headlights operation. When you turn on the headlight switch, it activates the relay (source). The function of the relay is to complete the electrical connection between the battery and the headlights’ bulbs.
A faulty relay will not send enough power to your headlights’ lamp. Consequently, your Kawasaki Teryx headlight will appear dim or not work.
Some causes of faulty headlight relays in Kawasaki Teryx include:
- Excessive current draw
- Damaged contacts
- Dirty terminals
- Corroded or damaged wires
How To Fix
Before fixing the headlight relay, you need to confirm that it’s the cause of the problem. First, locate the relay in your Kawasaki Teryx’s engine compartment (you can refer to the user manual).
Then, use the multimeter to test the continuity of the relay’s coil. If the multimeter shows no continuity, the relay is faulty, and you need to replace the part.
Here is the procedure to replace the faulty relay:
- Take off the fuse lid. Removing the fuse lid to access the relay is necessary before replacing it.
- Pull out the old relay from its terminals. Use a pair of pliers to pull out the relay since it’s hard to grip. Try prying the old relay with the pliers if it’s hard to pull.
- Insert the new relay. The new relay should be the same style as the old one for compatibility. Insert the relay where you removed the only one and push it to fit and connect firmly.
- Test the headlight. Test the headlights to ensure they work, and you’re ready to proceed.
- Cover the lid. Once the headlights start lighting, cover the relay’s lid and proceed to your destination.
15016745 HOPUT Headlight Relay (link to Amazon) is a better replacement option for your Kawasaki Teryx headlights. This relay is durable, high-quality, and easy to install. You can expect it to serve you well.
Here is a guide to testing a headlight relay and replacing it:
2. Your Kawasaki Headlights Have a Blown Fuse
Another reason your Kawasaki Teryx headlights may not work is that you have blown a fuse. The headlight fuse protects the circuit from excessive current flow. When the fuse blows, it breaks the circuit, and the current can no longer flow to the headlights.
The main reason your Kawasaki headlight fuses my blow is an electrical overload resulting from a short circuit (source). A damaged wire usually causes a short circuit and blows a fuse.
How To Fix
You’ll know that the fuse is blown if you see a blackened, burned, or melted spot on it. If the fuse is not visibly damaged, use a multimeter to test it for continuity.
If the multimeter shows no continuity, you need to replace the fuse with a new one with the same amperage.
Here is how to replace a blown fuse:
- Remove the old fuse. Use a pair of pliers to remove the old fuse from its socket. You may need to use needle-nose pliers if the fuse is hard to grip.
- Insert the new fuse. Insert the new fuse into the socket and push it until it clicks to fit in place.
- Test the headlights. Test your headlights to see if they’re working. If they don’t work, there may be another problem behind your headlight malfunction.
- Your Teryx Headlights Have Corroded or Damaged Wiring
Kawasaki Teryx crisscrosses a lot, which may result in the headlight wires getting pinched. Pinching can cause the insulation around the wires to wear out, exposing the bare wire. Furthermore, water may enter through the damaged insulation and cause corrosion.
Corroded or damaged wires will prevent current from flowing to your headlights, causing them not to work.
How To Fix
The first step is to inspect the headlight wires for any damage. Check the cables from the batteries to the bulbs. Should you discover damaged insulation or corrosion—It is best to repair or replace the wires
You can use electrical tape to cover the exposed wire. Make sure to wrap the tape tightly around the wire for a secure fit.
You may need to replace the wire if the damage is severe. Here is the procedure to replace the damaged cables:
- Buy a new wire of the same gauge as the old one.
- Strip about half an inch (1.27 cm) of insulation from each end of the new wire.
- Twist each end around the corresponding terminal on the old wire.
- Use electrical tape to secure each connection.
- Finally, test your headlights to see if they are working.
- Your Kawasaki Headlights Have Bad Headlight Bulbs
Another reason your Kawasaki Teryx headlights may not be working is bad headlight bulbs. Over time, the filament in the bulb can break, preventing current from flowing through and lighting up the bulb. In some cases, the wires may be loose, causing a poor connection that prevents current from flowing.
How To Fix
The first step is to check the bulbs to see if you may have burned them out. You can look at the filament through the bulb’s glass. If you see a broken filament—you need to replace the bulb.
Follow these steps to replace the headlight bulb:
- Turn off the power. Make sure to turn off the power to the headlight before you begin.
- Remove the old bulb. Remove the old bulb by turning it counter clockwise and pulling it from the socket.
- Insert the new bulb. Insert the new bulb into the socket and turn it clockwise until it clicks into place.
- Turn on the power. Turn on the power to the headlight and test it to see if it’s working.
As a Kawasaki Teryx driver, you don’t need to panic if the engine seizes. You can fix the issue by following my complete guide.
Summary
When your Kawasaki Teryx headlights stop working, it can be something as simple as corrosion in the wires, or you have blown a fuse.
A multimeter is an essential tool to help you diagnose any problems with the headlights and devise an appropriate solution. Therefore, you should always have a multimeter when you’re out with your Kawasaki Teryx.