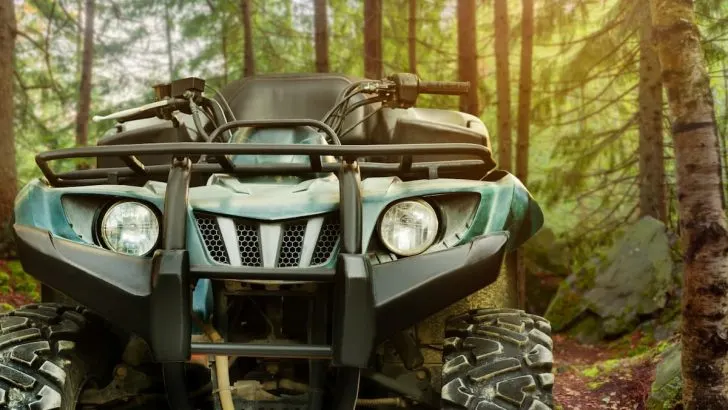
If you start to feel your ZFORCE pull to one side, or if the handlebars feel wobbly, you may need to fix your alignment. Luckily, this is a relatively straightforward process that doesn’t take too long to do.
To fix your ZFORCE alignment, you’ll need to get your toe-in and toe-out measurements, loosen the tie rod nuts, adjust the tie rod accordingly, and then replace the nuts.
In this article, I’ll take walk you through each of these steps.
Signs of Bad Alignment
Before you start tinkering with your alignment, you should ensure that it needs adjusting in the first place.
Here are some signs that your alignment is off:
- You notice the vehicle pulling to one side while you’re riding.
- Your handlebars feel wobbly.
- The tires seem to wear out more quickly than they should.
- The steering wheel is crooked.
- The tires squeal when you’re driving.
If you notice the above signs, or if it has been a long time since you’ve aligned the steering, it’s best to proceed to the following steps (source).
Step-by-Step Guide To Fixing Your ZFORCE’s Alignment
If you’re experiencing any of the above problems and you’ve determined that you need to fix your alignment, follow these steps (source):
1. Acquire Your Materials
The first step is gathering all the tools you’ll need to fix the alignment. Luckily, this fix doesn’t require anything out of the ordinary. All you need to have on hand is a tape measure and a wrench. You might also want to enlist a helper to hold the tie rod in place as you loosen the nuts (don’t worry, we’ll get to that in a couple of steps!). Otherwise, you may need two wrenches.
2. Use a Tape Measure To Get Your Toe-in-Toe-Out Measurements
After you have all your tools, you’ll need the proper measurements. If you don’t have a tape measure, I recommend this 30’ Tape Measure (link to Amazon). This tape measure has 13 feet (approximately 4 meters) of blade reach, which is enough for just about any job. It has a large and sturdy base for measuring, and the font on the tape is large and easy to read.
Once you have your tape measure, use it to measure the distance between the centers of your two front tires. Be sure to measure at ride height. Then, get the distance between the centers of the back of the tires. Find your toe-in measurement by subtracting the distance between the front of the tires from the back of the tires.
“Toe” in this context refers to the distance between the front and the back of the rims on an axle (source). If the distance between the front is bigger than the distance in the back, the alignment is toe-out. If the distance in the back is larger than in the front, the alignment is toe-in.
ZFORCE manufacturers recommend that the alignment on the vehicle be slightly toe-in, meaning that the distance between the center of the tires in the back should be larger than the distance in the front, but only slightly. If it is too far off, the alignment will be too off, and you’ll notice it while driving.
3. Loosen the Nut on the Tie Rod
To adjust the distance, you need to work with the tie rods. Lock nuts hold these rods into place, so before you can adjust, you’ll have to loosen these nuts with a wrench. You should hold the rod in place while you’re loosening the nut.
I like this 4-Piece Adjustable Wrench Set (link to Amazon). This set comes with four different wrenches that will meet your every need, including this alignment adjustment. The tools are made with high-quality steel and are heat-treated, so they’re extra durable, and the finish is corrosion-resistant and chrome plated.
Once the nuts are loose, you can move on to the next step.
4. Spin the Tie Rod Until You Get the Right Measurement
You can change the distance between the front and back edges of the axle rims by moving the tie rod clockwise or counterclockwise. Keep rotating the rod until the measurements are correct, with the alignment slightly toe-in. Take your time; it’s better to keep trying until you get the right measurement instead of rushing through the process and fixing the alignment again in a short amount of time.
5. Secure the Tie Rod Into Place
Once your toe is where you need it to be, check your measurements one last time before tightening the rod nuts back on the rod to secure it into place. Ensure you tighten these nuts securely, so the alignment doesn’t shift out of place the next time you drive the vehicle.
If you’ve followed these steps and fixed your alignment and still notice wobbling while driving your vehicle, there is likely another problem.
Here are other possible causes:
- There’s a problem with your wheel hub bearings.
- Your tires are out of balance.
- The nuts aren’t tight enough on the tie rod.
- The axle is bent or cracked and needs to be replaced.
If you discover that you need to replace your wheel hub bearings, I recommend this ATV Wheel Hub Bearing (link to Amazon). This bearing is made with a high-quality steel alloy that is long-lasting and durable, so you won’t need to replace it immediately. It’s compatible with many ZFORCE models and meets the standard of the original.
If you’re interested in repairing your vehicle, you may want to know how to fix a damaged Kawasaki Teryx crankshaft. Check out my guide to learn how.
Final Thoughts
Every ATV gets out of alignment now and then, so it’s a good skill to know how to fix this issue. Fixing the alignment is a relatively straightforward matter of getting the proper measurements, loosening the tie rod nuts, adjusting the tie rod, and securing the rod by tightening the nuts.

